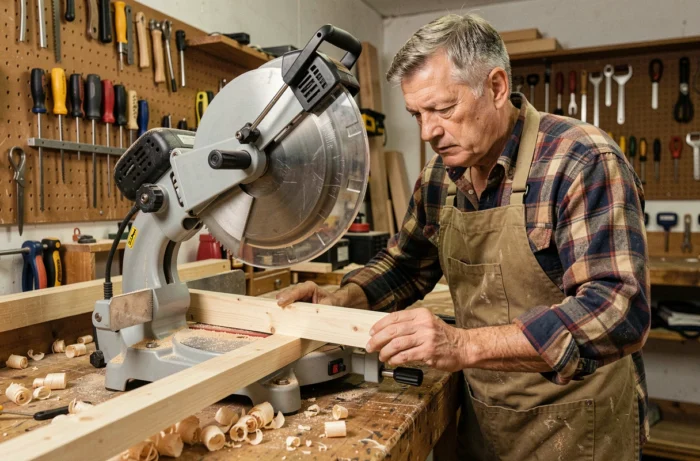
An miter cut involves sawing a piece of wood at an angle relative to its length, so that two elements fit together while hiding the end grain. The miter saw, whether manual or electric, is the tool designed for this type of cut. The precision of the result depends less on the power of the machine than on the preparation beforehand: blade adjustment, positioning of the piece, and choice of angle.
Blade thickness and saw kerf: what really offsets your miter cut
Even before touching the angle adjustment, one parameter conditions the precision of each cut: the thickness of the saw kerf. The blade does not cut along an infinitely fine line. It removes material, and this width of passage varies according to the tooth design and the spacing of the teeth.
If you cut two baseboards intended to meet at a corner, each saw kerf takes away a fraction of length. Ignoring this means assembling two pieces that are slightly too short, which creates a visible gap at the top or bottom of the joint.
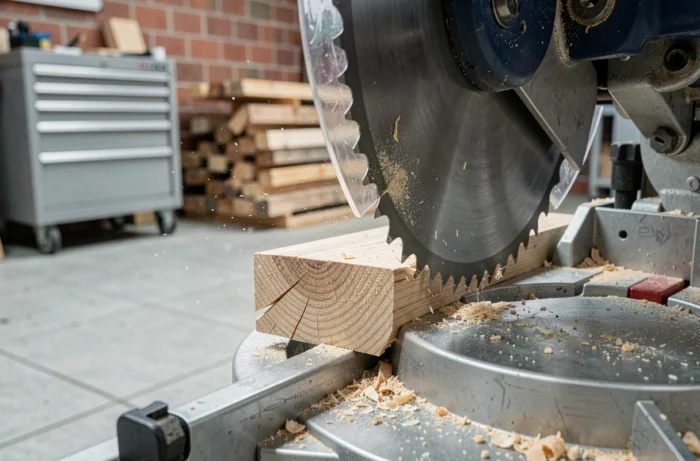
The most reliable method is to mark the cut line with a pencil, then position the blade so that the saw kerf falls entirely on the waste side (the part you are not using). Check by lowering the blade without rotating it: the teeth should just graze the outer edge of the line, never cut into the useful piece side.
To learn how to use a miter saw for a miter cut on wide or thick pieces, the principle remains the same, but the radial travel of the head requires an even more controlled motion to keep the blade on the correct side of the line.
Angle adjustment on the miter saw: rotating table and bevel
The miter saw offers two distinct axes of rotation, and confusing them causes most angle errors.
Table rotation (miter cut)
The table pivots horizontally under the piece of wood. This adjustment defines the actual miter angle. For a classic right-angle joint (two pieces forming a corner at 90 degrees), each piece receives a 45-degree cut on the table. Two 45-degree cuts complement each other to form 90 degrees.
Head tilt (bevel cut)
The head of the saw tilts sideways. This tilt produces a beveled cut through the thickness of the wood. It only comes into play for compound cuts, for example on cornices or ceiling moldings installed at an angle. For a baseboard laid flat against a wall, the bevel remains at zero.
Before each series of cuts, lock the table at the chosen angle and check that it does not move when you apply lateral pressure to the piece. Insufficient locking shifts the angle by a few degrees, which is enough to open a joint.
Positioning the piece of wood against the guide: avoiding splintering and kickback
The vertical guide (the rear stop of the saw) serves two functions: it maintains the cutting angle and prevents the piece from moving backward under the pressure of the blade. A poorly positioned piece produces splinters on the visible face and can pivot during the descent of the blade.
- Press the piece firmly against the guide along its entire length before tightening the holding clamp, if the machine is equipped with one.
- Place the visible face of the wood facing up: the blade enters from the top, so splinters form on the exit, that is, on the underside.
- For short pieces (less than twenty centimeters), always use a support block or clamp. Never hold a short piece by hand near the blade.
- If the piece extends far beyond the table, support the free end with a roller stand or sawhorse at the same height as the saw table to prevent tipping.
A piece that vibrates or tips during the cut produces an irregular angle, even if the machine’s adjustment is correct. Proper positioning is as crucial as the angle adjustment.
Out-of-square walls: measure the actual angle before cutting
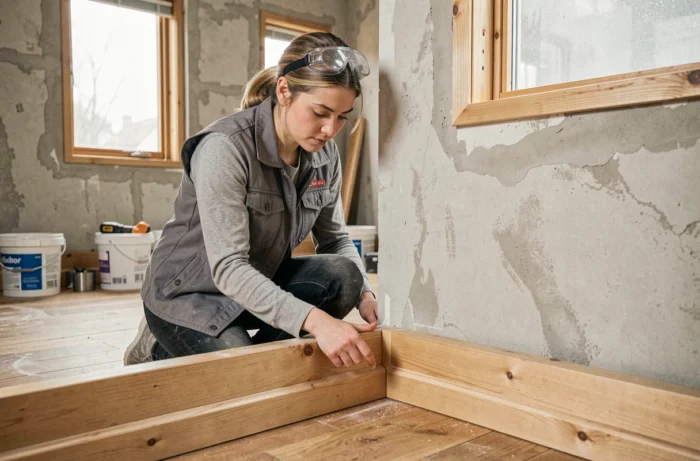
The walls of a room rarely form a perfect 90-degree angle. A deviation of two or three degrees is common, especially in older constructions. Systematically cutting at 45 degrees without checking the wall angle guarantees an open joint.
Use a false square (level) to measure the exact angle of the corner. Place the two arms of the tool against the two walls, then transfer the obtained angle onto a protractor. Divide this angle by two to get the setting for your saw. If the corner measures 88 degrees, each piece will be cut at 44 degrees, not 45.
On some miter saws, the predefined notches on the table (stops at 15, 22.5, 30, and 45 degrees) make intermediate adjustments less intuitive. Unlock the notch and manually adjust the graduation. Test on a scrap piece of wood before cutting the final piece.
Protection and cutting motion: controlled descent of the blade
The blade of a miter saw spins at high speed. The cutting motion should remain slow and steady.
- Wear safety glasses and hearing protection. Wood splinters are projected at high speed, and the noise from an electric miter saw exceeds the comfort threshold during prolonged sessions.
- Wait for the blade to reach its maximum speed before lowering it towards the piece.
- Lower the blade with constant pressure, without forcing. Letting the teeth work at their own pace reduces splintering and preserves the straightness of the cut.
- After the cut, keep the blade in the lowered position for a few seconds until it stops before raising it.
Adjusting the saw, positioning the piece, checking the wall angle, positioning the saw kerf on the correct side: these four actions, repeated before each cut, matter more than the choice of machine model. A clean miter joint relies on the rigor of preparation, not on the speed of execution.